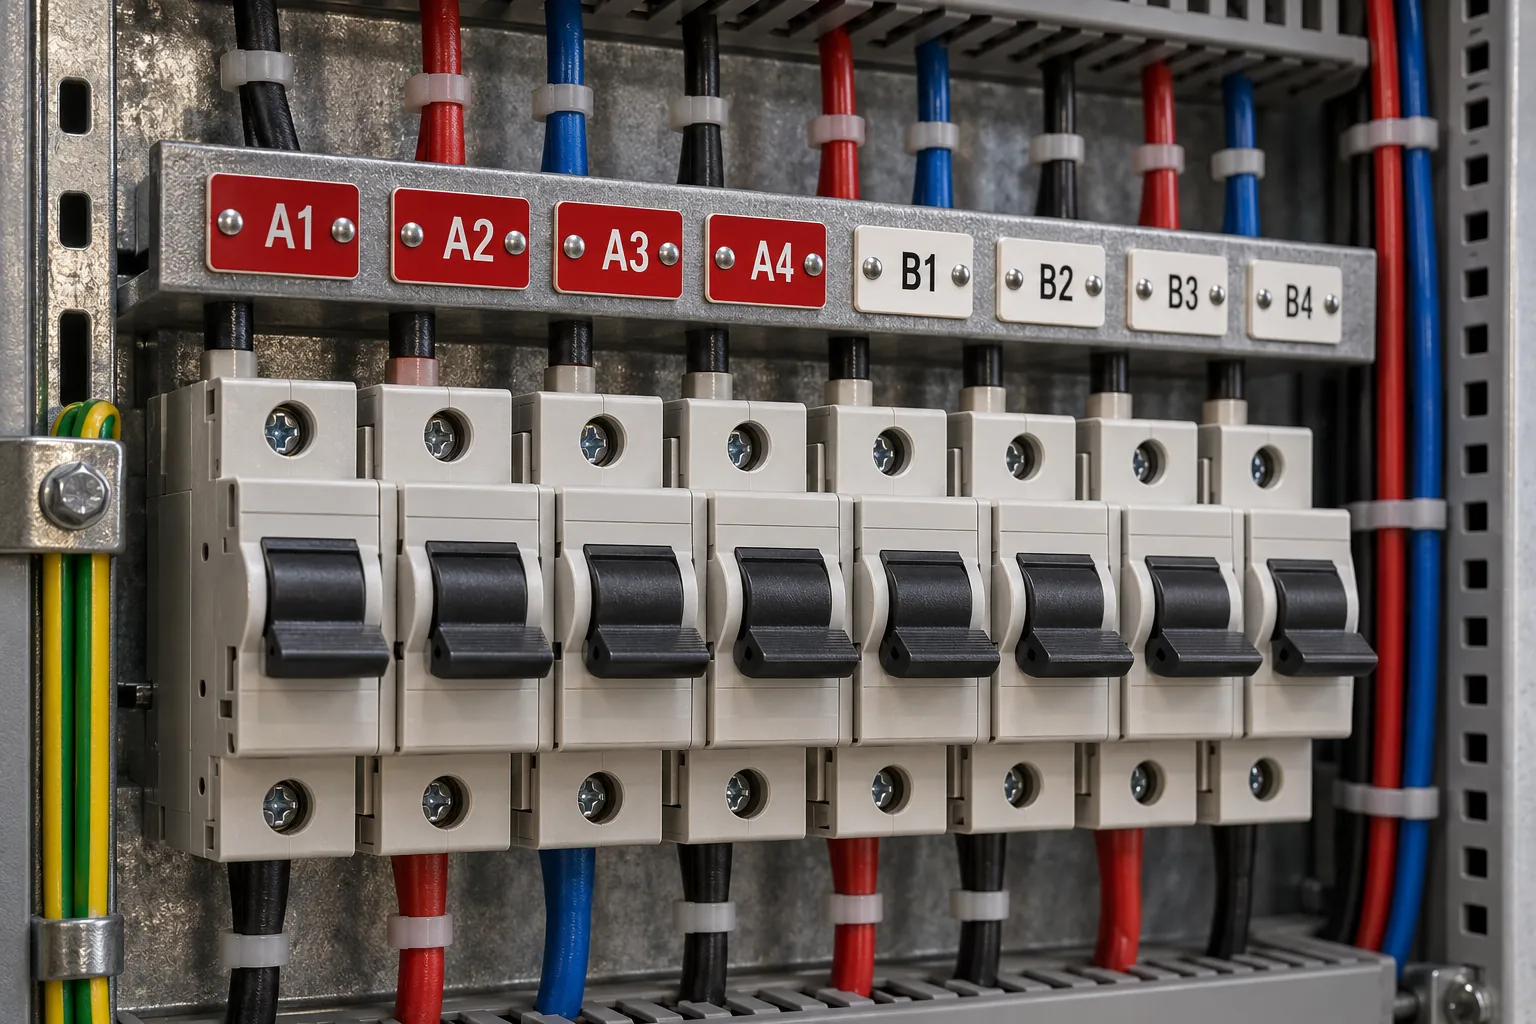
Electrical Panel Labels: CAD, Approvals and Revision Control
An electrical panel label starts as controlled project information. This guide follows the work from an approved drawing package to inspected labels. For equipment selection, material options and return on investment, use our contractor’s guide to making lamacoids in-house.
Build the label schedule from CAD
Create one schedule tied to the drawing revision. Record the panel and device identifiers, exact wording, quantities, finished dimensions, mounting holes, material product code and colour. Keep the drawing reference with each label so a reviewer can trace it to the equipment.
Prepare the artwork at the intended finished size. Keep text, engraving areas and cutting outlines on distinct layers or colours. Epilog documents a 1:1 plot scale when printing from AutoCAD; follow the instructions for your software and machine. Preview the laser job to verify dimensions and which objects will engrave or cut.
Approve before production
Have the project designer and the person responsible for certification approve the schedule and artwork. Confirm wording, equipment identifiers, ratings, character size, contrast, mounting and the exact material against the applicable project requirements. Agree who can authorize changes and how approval will be recorded.
A laser does not establish compliance or authorize use of a certification mark. Refer certification questions to the responsible authority. For stock selection, consult our Rowmark materials page and the exact product’s specifications.
Control revisions and replacement labels
Give the schedule, drawing export and production file a shared revision identifier. Keep an approved copy separate from work in progress. When a drawing changes, compare the schedule against the previous revision and identify additions, replacements and deletions before running another batch.
Record who approved the change, the date and the affected panels. Remove superseded artwork from the production queue. Save the tested material settings with the approved job, including the machine and stock used, so replacement labels can be reproduced and checked against the current drawing.
Run a first article
Test the approved laser-compatible stock using the manufacturer’s starting settings. Inspect a sample of the actual text, holes and outline before releasing the batch. Check the preview, focus and extraction, engrave the text before cutting outlines, and stay with the machine throughout the run.
Inspect and release the batch
Compare finished labels with the approved schedule. Check wording, revision, quantities, dimensions, legibility, contrast and mounting details. Record the inspection and isolate any labels that need correction. Kit the accepted labels by panel or location with the current drawing reference; check the installed labels against the equipment identifiers.
Plan production costs separately
The contractor’s guide covers outsourcing costs, in-house labour and simple payback. Payback in years is equipment investment divided by positive annual savings; it assumes steady savings and excludes the time value of money.
Calculate your label costs using your own numbers.
Review your workflow
Bring a representative drawing package, label schedule and material specification. Contact us to discuss your application or arrange a showroom appointment in Delta, BC or Mississauga, ON.
Questions About a Laser?
Call or send us your application. Demos are available at our Delta and Mississauga showrooms by appointment, or live online: send us your files and we'll run your parts on a real laser while you watch over video call.