Rowmark LaserMax vs Ultra-Mattes Front: Choosing Engraving Plastic
Choosing engraving plastic starts with the machine and the job. Colour comes next. Rowmark LaserMax and Ultra-Mattes Front both suit signage and identification work, but their published engraving depths and recommended methods differ. For a CO₂ laser, start by looking at LaserMax. For rotary engraving, compare both lines. This guide covers the differences, then the cap/core colours and sheet thicknesses to specify for signs and nameplates.
How cap and core colours work
On a front-engraved, two-ply sheet, the cap is the surface colour and the core is the colour underneath. Engraving removes the cap to reveal the core wherever you put text or graphics.
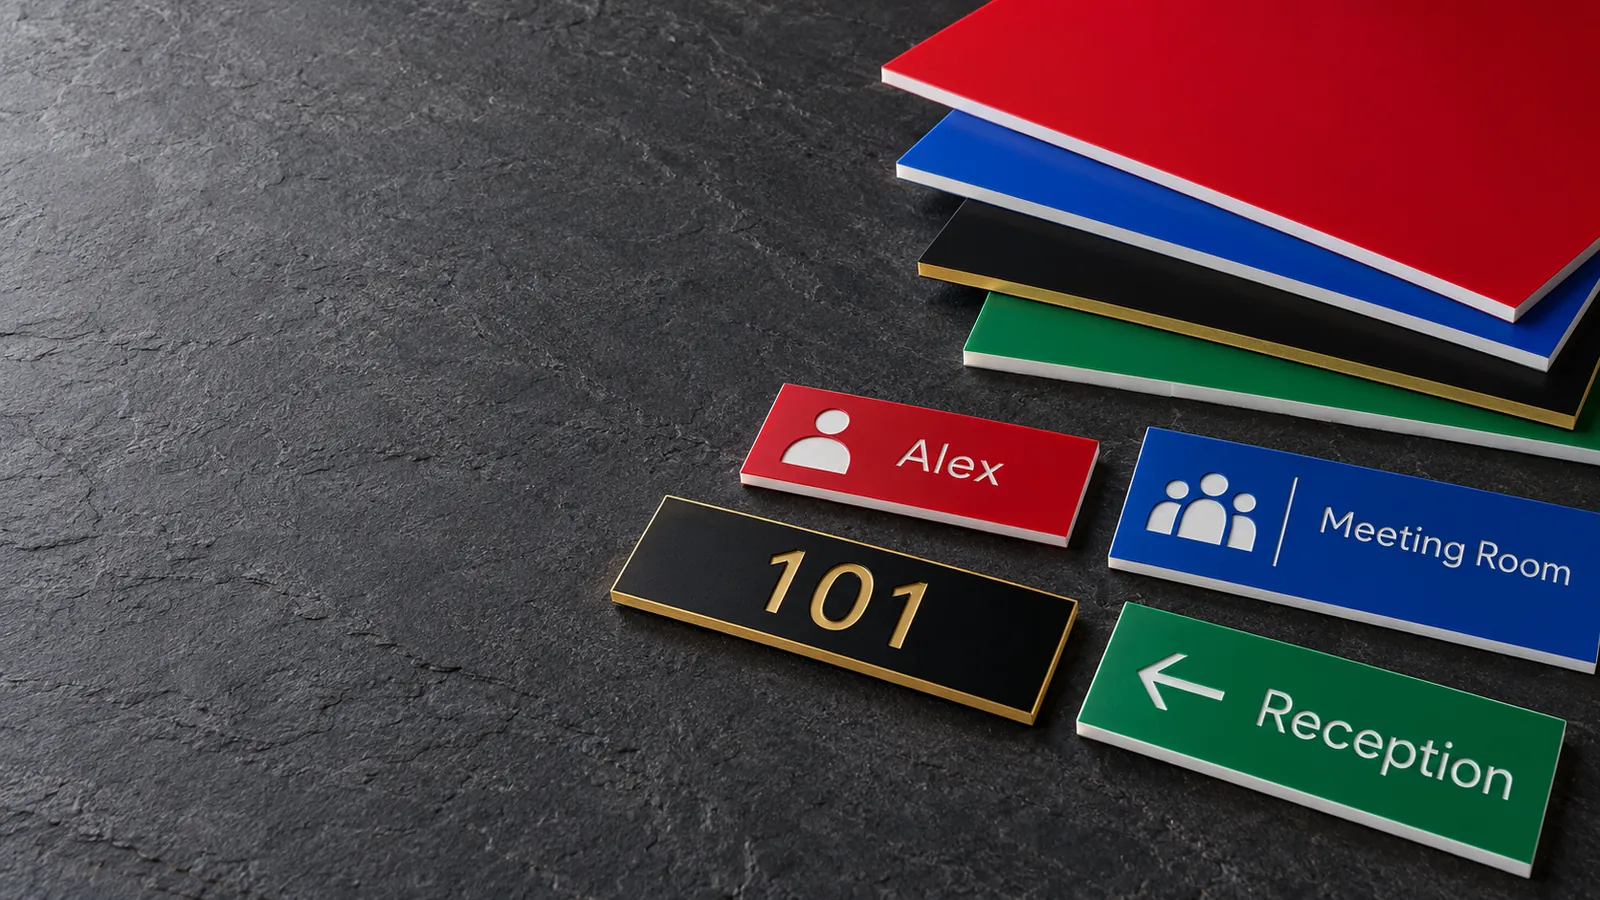
White/Black gives you a white background with black lettering. Black/White reverses that: black background, white lettering. Write both colours on the order, in that order, rather than asking for a “white nameplate”.
This guide focuses on front-engraved sheet. Ultra-Mattes Reverse is a separate product, engraved from the back, so check the full product name when ordering.
LaserMax or Ultra-Mattes Front?
LaserMax. Rowmark specifies microsurfaced impact acrylic, with a published engraving depth of 0.003″ (0.08 mm). Its material information sheet lists both laser engraving and rotating carbide engraving. Rowmark also lists laser vector cutting and fine engraving among its capabilities. That makes it a useful starting point for a CO₂ workflow producing engraved nameplates, equipment tags and signs.
Ultra-Mattes Front. Rowmark specifies laminated impact acrylic with a non-glare, fingerprint-resistant matte finish. Its published engraving depth is 0.012″ (0.30 mm), and its material information sheet lists rotating carbide as the engraving method. Consider it for rotary-engraved office signs, control panels and equipment identification where that finish suits the job.
Keep laser engraving and laser cutting separate when reading the specifications. Rowmark lists laser vector cutting for Ultra-Mattes Front, but that alone does not establish CO₂ surface-engraving suitability. Its separate diode-laser designation comes with a warning that white and light-coloured plastics are generally unsuitable for diode processing. Confirm the exact product, colour and process with the manufacturer before substituting it into a CO₂ engraving job.
For rotary work, match the cutter to the artwork as well as the material. Rowmark notes that the cutter tip determines cut width and the spindle micrometer typically controls depth. Include the smallest lettering in your test piece.
Pick colours for the finished sign
Start with the project’s colour schedule, then compare actual material samples. For a general nameplate, White/Black and Black/White are useful combinations to review. For a coloured background, Rowmark’s LaserMax chart includes Crimson/White and Sky Blue/White; Ultra-Mattes Front includes Red/White and Blue/White.
Review an engraved sample at the intended reading distance and under the lighting where it will be installed. Check the lettering, logo and background together. A colour choice on its own doesn’t settle whether the finished layout reads well.
Use the exact line name, colour pair and item code on repeat orders. Our engraving plastics page explains the wider material choices.
Match thickness to the mounting
Sheet thickness and engraving depth are separate specifications. A 1/8″ sheet does not mean you engrave 1/8″ deep to reveal its lettering.
Check the drawing, sign holder and mounting arrangement first. Then compare the gauges available in the chosen colour:
- 1/32″ (about 0.8 mm). Consider this when the job specifies a thin faceplate. Rowmark lists LaserMax White/Black in this two-ply gauge.
- 1/16″ (1.6 mm). Compare this first for a nameplate or door sign when the project leaves thickness open. Both lines list two-ply White/Black in this gauge.
- 1/8″ (3.2 mm). Both lines also list two-ply White/Black at this thickness. Choose it when the drawing or mounting calls for it, and test cutting through the full sheet.
Check the colour chart entry rather than assuming every combination comes in every thickness. Confirm the number of plies too: two-ply and three-ply products can appear beside each other in the catalogue.
Check the installation environment
Rowmark describes Ultra-Mattes Front as UV stable and outdoor weatherable. LaserMax also has outdoor applications, but Rowmark flags some foils as unsuitable where UV stability is required. Check the exact colour and finish before specifying an outdoor sign.
Include exposure to sunlight, weather and cleaning products in the material brief. Ask for confirmation of suitability for those conditions before ordering a batch.
Test the actual sheet
For laser engraving, use the manufacturer’s guidance for your machine and material as the starting point. Epilog notes that different plastic colours can require different speed and power settings, even from the same manufacturer.
- Remove the protective cover before raster engraving. Rowmark specifically instructs users to remove its printed protective masking; Epilog’s plastic engraving guidance calls for removing the clear protective cover.
- Run a small sample with the job’s text, logo, holes and outline.
- Adjust one variable at a time. Check that the cap clears and the exposed core looks clean, without melting.
- Save the result with the material code, colour pair, thickness and machine settings.
Keep the approved sample with the job record so the next run has something concrete to match.
Choosing Rowmark in Canada
Synergy is an authorized Rowmark dealer. Browse our Rowmark page, or contact us with the engraving method, finished dimensions, colour pair, thickness and mounting details. Our showrooms in Delta, BC and Mississauga, ON are available by appointment.
Questions About a Laser?
Call or send us your application. Demos are available at our Delta and Mississauga showrooms by appointment, or live online: send us your files and we'll run your parts on a real laser while you watch over video call.