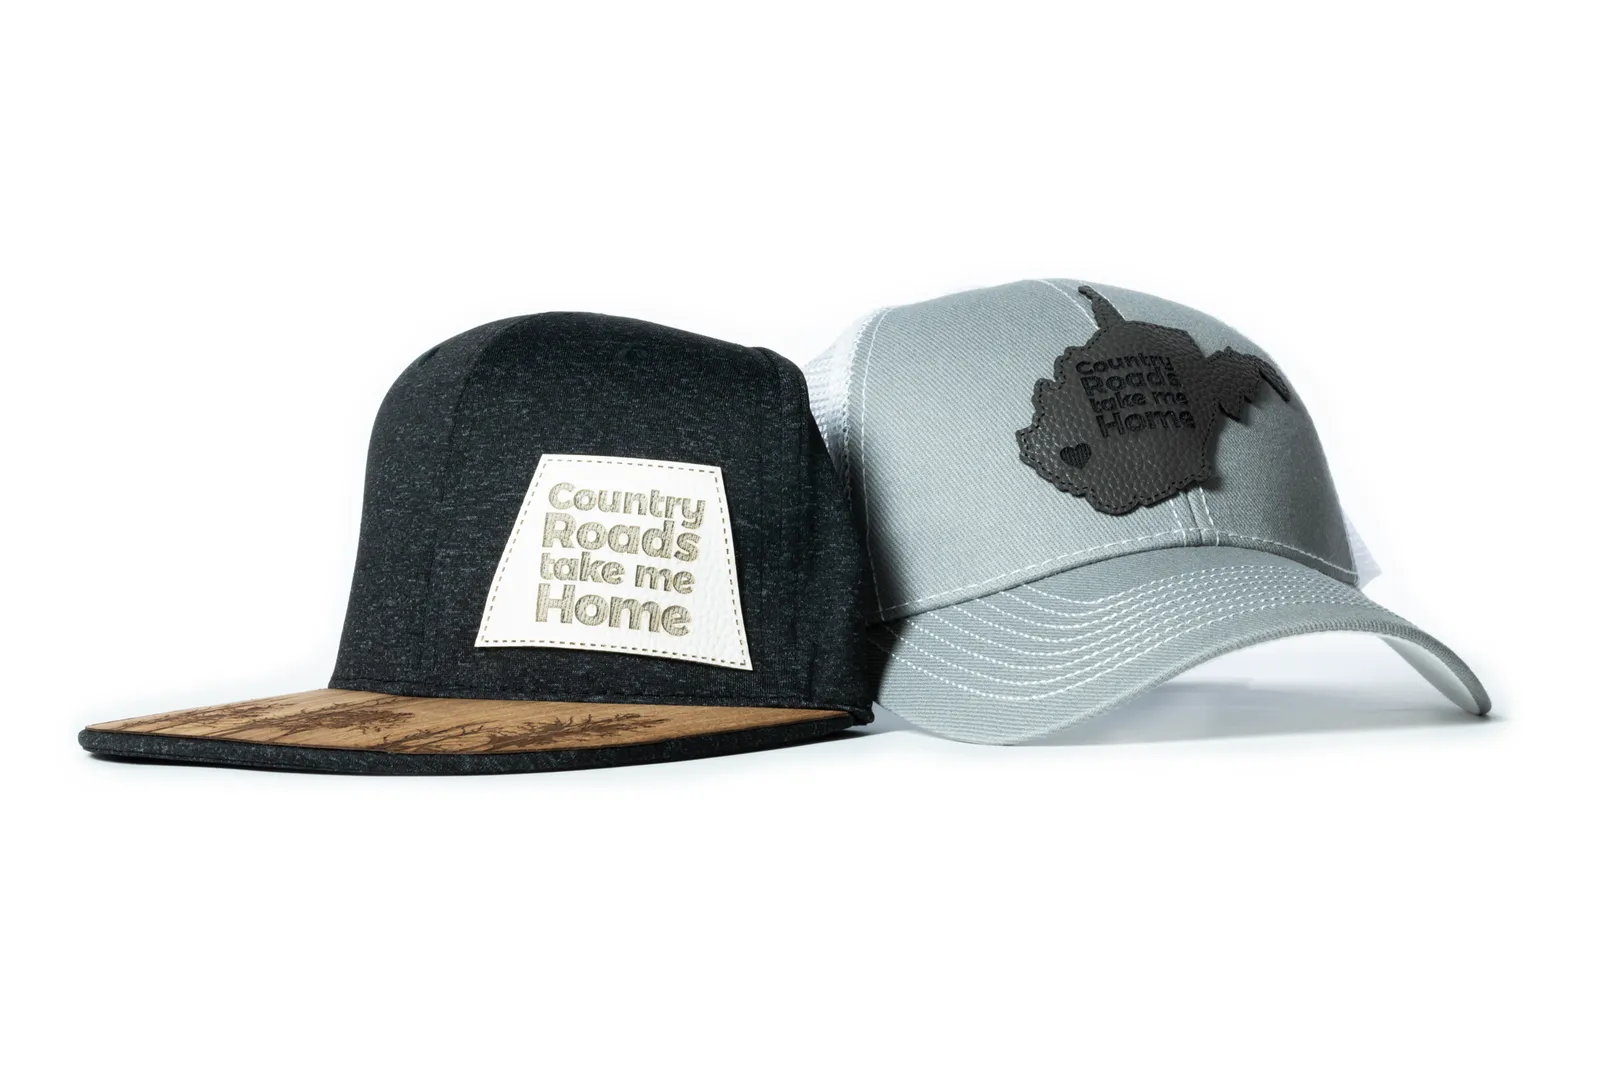
Laser Engraving Leather and Leatherette: A Practical Guide
Hat patches, journal covers and coasters are all applications for laser engraving leather and leatherette. The material choice comes first: genuine leather and laserable PU leatherette give different results, and neither should go into the laser without checking the exact product. This guide covers the difference, how to approach settings, what to expect from the fumes and how to finish the work.
Real leather vs PU leatherette
Genuine leather is a natural material. Suitable leather can engrave to a dark mark, but different leathers react differently. Epilog lists vegetable-tanned leather among its options for engraving. Choose a product whose manufacturer confirms that it suits laser processing, and test the actual leather before committing a finished item.
PU leatherette is a synthetic material based on polyurethane. Products made for laser engraving can have two contrasting colour layers: engraving reveals the second colour. That gives you a different starting point from a dark mark on natural leather. Check both the surface colour and the engraving colour when choosing a blank.
For material options, start with our laserable leatherette page. When comparing samples, judge the engraved result as well as the unmarked surface.
Confirm the material before testing
“Faux leather,” “vegan leather” and “leather-look” are descriptions, not confirmation that a product suits a laser. Synthetic leather can contain PVC, which produces hazardous, corrosive fumes when lasered. Do not engrave or cut PVC.
Ask for the manufacturer’s laser-processing guidance and the product’s Safety Data Sheet (SDS). Check the complete construction, including coatings, backing and any adhesive. A PU description alone isn’t a reason to skip that review.
Genuine leather needs checking too. Ask about the tanning and finish; don’t assume any chrome-tanned leather is suitable. Trotec specifically excludes leather containing chromium(VI) from laser processing. If the manufacturer cannot establish suitability, choose a documented alternative. Do not use a test burn to decide whether an unknown material is suitable.
Finding the right settings
A CO₂ laser can engrave and cut suitable leather. For leatherette, use settings for the exact product and your machine. Epilog’s leatherette guidance suggests its leather settings as a starting point, with adjustments for the machine and wattage.
There is no single power-and-speed pair for every patch or journal. Epilog publishes material settings by model and wattage. Start there, alongside the material manufacturer’s recommendations.
A practical way to apply that guidance:
- Use a spare blank or scrap of the actual material. Include a small version of the logo or lettering you intend to run.
- Check placement and focus. Follow the machine’s focusing instructions at the surface you will engrave. Confirm the artwork fits before starting.
- Change one setting at a time. Compare small speed or power adjustments while keeping the other settings fixed.
- Clean and inspect the sample. Judge the contrast and detail after removing residue, then record the material, colour and settings with the sample.
With other settings unchanged, higher power or slower travel generally increases engraving depth. For two-tone leatherette, aim to reveal the contrasting layer cleanly. Extra depth is not the goal. If genuine leather starts to deform, reduce power and test again.
Treat cutting as a separate operation with its own settings. On Epilog systems, use air assist when vector cutting and monitor the machine whenever it runs.
Patches, journals and coasters
Hat patches. Plan the attachment before choosing the blank. Epilog demonstrates engraving leatherette patches first, then attaching them with a hat heat press. For a heat-applied patch, follow the patch and adhesive manufacturer’s instructions for temperature, time and pressure, and test the complete patch-and-hat combination. Keep those notes with the engraving settings.
Journal covers. Confirm the cover material rather than relying on the notebook’s product name. Check the design’s position against the actual cover. Epilog’s leatherette notebook project uses the camera view to align and resize the artwork before engraving. Include placement in your sample approval.
Coasters. Use a spare coaster as the finished sample. Check the engraving after cleaning, including the cut edge if you are making coasters from sheet. Keep that sample as the reference for the rest of the set.
Smell and fume extraction
Laser processing genuine leather produces a strong smell, which Epilog compares to burning hair. Leatherette also needs extraction: laser processing can release fumes, particles and vapours. A material sold for laser use still needs the extraction specified for the process.
Use an exhaust system that vents outside or a suitable filtration unit, sized to your machine and materials. In filtration systems, HEPA filters capture fine particles, while suitable activated carbon filters address gases and odours. BOFA stresses matching the carbon and airflow to the application.
If you notice odour escaping during engraving or smoke collecting near the lens carriage, inspect the exhaust system. Epilog recommends checking for loose connections, obstructions and accumulated debris. Follow the extractor manufacturer’s filter-change guidance. Our fume extraction page covers equipment options.
Cleaning and finishing
For laserable leatherette, follow the product’s care instructions. Trotec recommends a damp tissue or sponge for cleaning imitation leather. Test on the spare blank first and inspect the engraving before assembly.
For genuine leather, start gently. Trotec’s leather project recommends trying a dry cloth to remove smoke residue. Its material guidance warns that aggressive cleaners can leave spots or dry out leather, so test any cleaner on scrap or a hidden area first.
If the project calls for a conditioner, edge treatment or protective finish, get a recommendation for that exact leather and test it on the engraved sample. Make cleaning, any finishing and patch attachment part of the sample approval before running the batch.
Getting started
Compare your material options on our leatherette page, or contact us with the product details and what you want to make. Our showrooms in Delta, BC and Mississauga, ON are available by appointment.
Questions About a Laser?
Call or send us your application. Demos are available at our Delta and Mississauga showrooms by appointment, or live online: send us your files and we'll run your parts on a real laser while you watch over video call.