Laser Engraving Glass, Slate, Granite and Tile
A frosted drinking glass and a light logo on dark slate are both CO₂ laser applications. Getting a good result means paying attention to the surface, the artwork and the settings. This guide covers glass, slate, granite and ceramic tile, including where damp paper, dithering and a rotary attachment help.
How a CO₂ laser frosts glass
Glass absorbs the CO₂ laser’s energy at its surface. The heat creates microscopic fractures, leaving the familiar frosted appearance. This is surface engraving; an Epilog CO₂ engraver does not cut through glass or produce a deep carved recess.
The challenge is getting an even frost without roughness and chipping. Glass composition varies, so a setting that works on one bottle may look different on another. Ordinary soda-lime drinkware is generally an easier starting point than lead crystal, which is more prone to cracking. Test a spare of the actual glass before committing to a batch.
Using damp paper on glass
Epilog recommends damp newspaper or paper towel as one way to help dissipate heat during engraving. A thin layer of liquid dish soap is another option.
For the paper method:
- Use a thin, single layer slightly larger than the engraving area and dampen it with water.
- Smooth it against the glass. Keep it free of wrinkles, overlaps and trapped air bubbles, which can affect the image.
- Engrave through the paper while it is damp. Watch for drying during longer jobs and pause the job before re-dampening as needed.
- Remove the paper and clean the glass after engraving.
Damp paper is an option to test, not a requirement for every glass job. Compare it with an uncovered sample using the manufacturer’s recommended settings.
Resolution and dithering matter
Higher resolution puts the engraved dots closer together. On glass, that extra overlap can add heat and leave a rougher surface. Turning up the DPI is not automatically an improvement.
Epilog’s glass guidance gives three useful starting points:
- Around 300 DPI. This separates the engraved dots more than a high-resolution setting.
- Artwork at 80% black rather than solid black, as suggested in Epilog’s glass engraving instructions.
- Jarvis dithering to help produce a smoother finish. Epilog also uses Stucki in its glass mug rotary tutorial.
Dithering changes the pattern of engraved dots. Treat it as part of the setup alongside resolution, speed and power. Start with the guidance for your machine and test the combination on your glass; a named dithering pattern is not a complete recipe.
A rotary attachment for drinkware
A rotary attachment turns a glass or bottle as the laser engraves, allowing the design to wrap around the curved surface. Epilog’s rim-style rotary supports cylindrical items such as wine glasses, mugs, bottles and vases.
Follow the installation instructions for your machine and attachment. On Epilog’s rim-style setup, the supports adjust to level the engraving area, and the laser is focused over the centre of the glass. A tapered glass needs that setup checked rather than simply resting it on the rollers and pressing go.
For mugs, position the handle so it stays clear of the engraving field during rotation. Confirm the rotary mode and artwork orientation in the software before sending the job.
Slate, granite and tile need different tests
These materials can all be engraved with CO₂, but they do not give the same contrast or respond to the same settings.
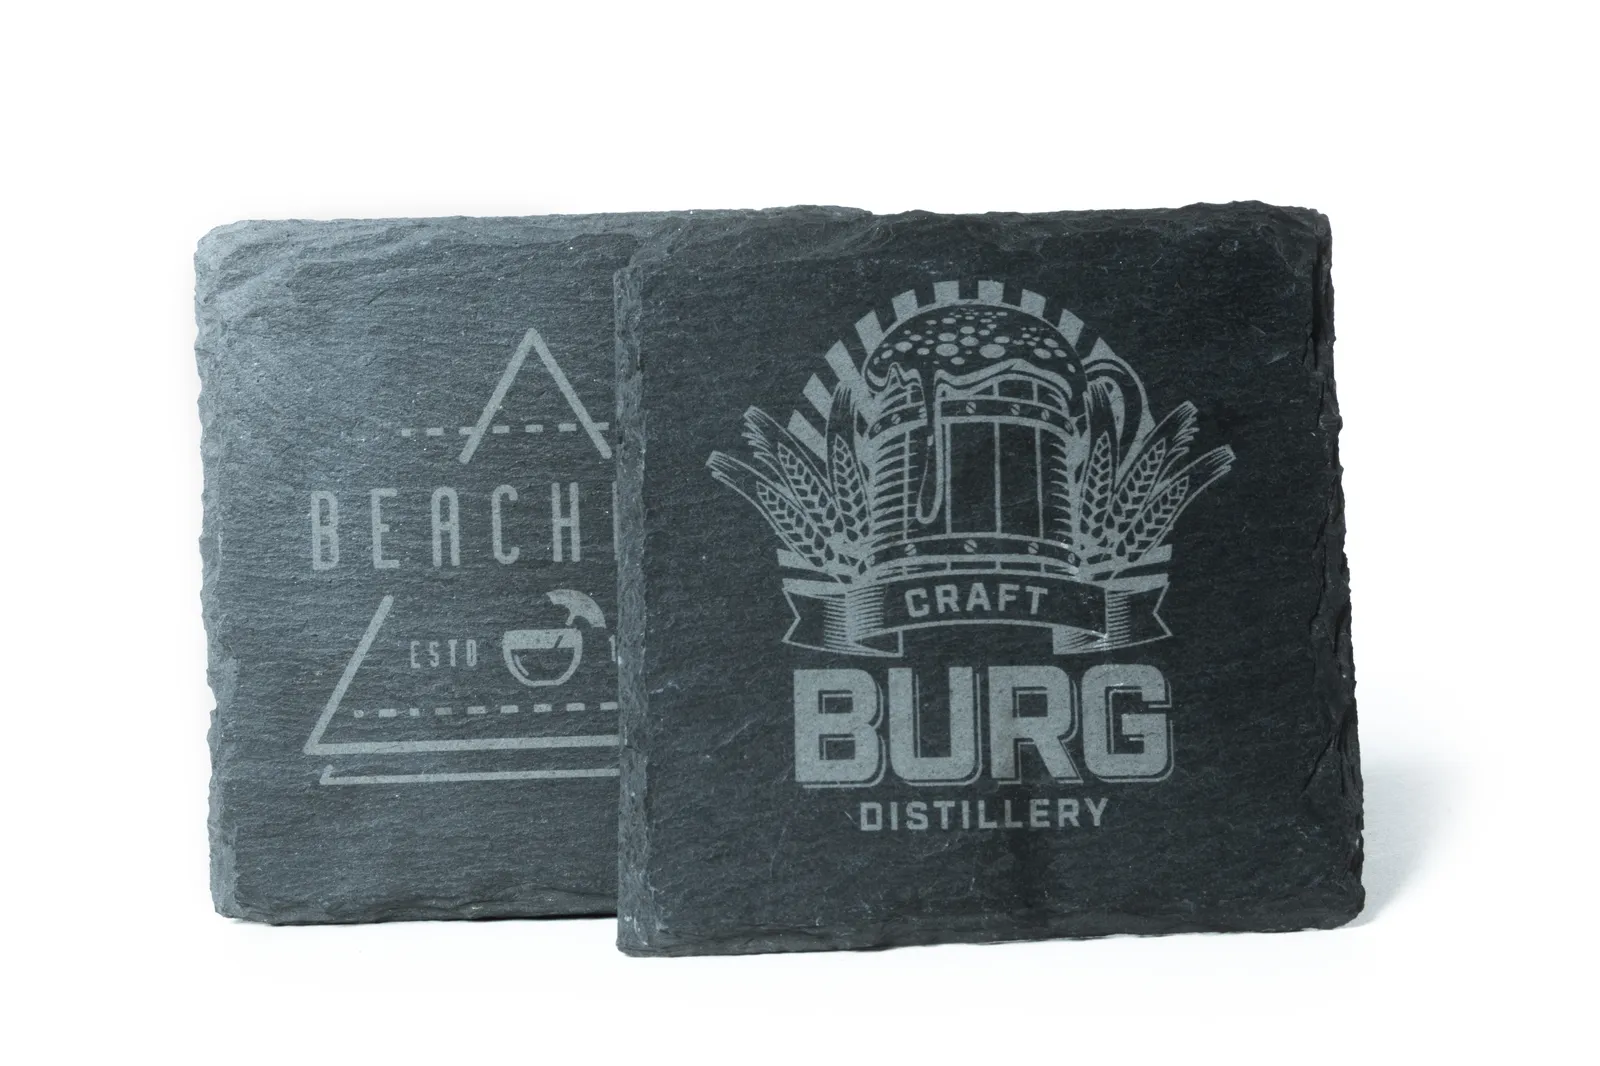
Slate. Dark slate can produce a light grey or white mark with strong contrast. Epilog demonstrates it on coasters and cheese boards. Start with a small logo or text sample on the actual blank, then judge the result before running the full design.
Granite. Dark, uniform stone is a good starting point. A smooth, flat engraving area helps keep the result consistent. Pale granite may give little visible contrast and may need a colour fill to make the design stand out. For photographs, the stone’s structure can limit fine detail, so test the image on the chosen stone rather than relying on a screen preview.
Ceramic tile. An ordinary ceramic surface may engrave with little contrast without a marking spray. Purpose-made laser tile can behave differently: Epilog describes laser-sensitive glazes that produce dark marks under CO₂. Check the tile manufacturer’s instructions before choosing a process. Do not assume a plain white hardware-store tile will give the same result as a tile made for laser marking.
What to avoid
- Starting with an irreplaceable glass or lead-crystal piece. Use a spare to establish settings. Leaded crystal needs particular care because it can crack or break.
- Adding repeated passes to fix a poor glass result. Epilog warns that repeated engraving can blur the design. Adjust the setup on a fresh test piece first.
- Copying one speed and power pair between machines. Epilog’s recommended settings vary by model and wattage. Use the matching material settings as a starting point and change one variable at a time.
- Ignoring dust during stone work. Stone dust can clog the nozzle. Check the nozzle, lens and mirrors at intervals, following your machine’s maintenance instructions.
- Running without extraction or leaving the machine unattended. Epilog requires the exhaust to be connected and running, and the operator to stay with the laser.
Our laser-safe materials guide covers material selection, and our fume extraction page covers extraction options.
Talk through your setup
Synergy Products is Canada’s exclusive Epilog dealer, with showrooms in Delta, BC and Mississauga, ON, by appointment. If you’re considering an Epilog laser system, contact us with the materials, item dimensions and engraving you have in mind. For an existing machine, include the model, wattage and rotary attachment details.
Questions About a Laser?
Call or send us your application. Demos are available at our Delta and Mississauga showrooms by appointment, or live online: send us your files and we'll run your parts on a real laser while you watch over video call.